Areas
Areas are designed to represent how you think about and organize your house.
What are Areas?
Areas can be:
- Individual rooms
- Examples: kitchen, bedroom, half-bathroom, garage
- Parts of rooms (especially bigger rooms)
- Examples: a dining area, a connected bathroom
- Groups of rooms
- Examples: upstairs, downstairs, wings
- Connections & ambiguous spaces
- Examples: staircases, hallways, roofs
- Organizational features
- Examples: Closets, bins, crawl spaces
- Systems
- Examples: HVAC, plumbing, heating
- The Whole House
By creating Areas for any of the categories above, you can start to organize and track your home in dynamic, granular detail. This happens in two ways:
- Link your Issues to an Area
- Link your Inventory to an Area
Linking Issues to An Area
There are multiple benefits to linking Issues to Areas using Minicastle:
Benefits
- Clarity and control: an unorganized list of house problems is usually daunting and demoralizing. By associating Issues with Areas, you instantly create a clear sense of where problems actually exist, broken down in concise buckets that are much more manageable.
- Prioritization: with an Area-based list of Issues, you can know exactly which parts of your house require your attention. You can prioritize to take care of multiple problems in a single space over the course of an evening or weekend.
- Pattern-finding: by creating links between Areas and the Issues that occur, you'll start to see notice when similar problems keep occuring, or when solving when issue triggers another. Patterns like this can help you get ahead of problems before they become bigger.
How to Link Areas ⇄ Issues
There are two ways to link an Issue to an Area:
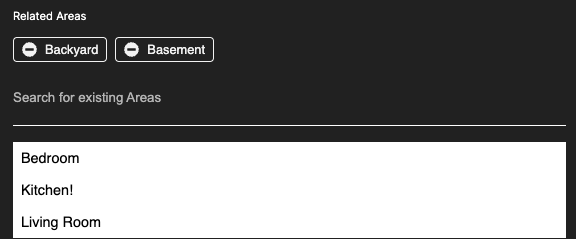
- When you create or update an Issue, you'll see a option for "Related Areas". You can either select Areas that you've previously created from the list, or create a new Area on-the-fly and add it accordingly.

To remove an Area, just click the "- [Area Name]" tag.
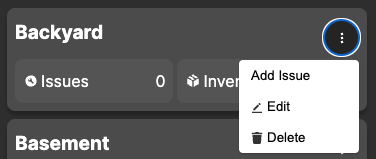
- From the "Areas" section, you can add an Issue directly to any given Area. Just click the menu dropdown and select "Add Issue".

Linking Inventory to an Area
Benefits
There are multiple benefits to linking Inventory items to Areas as well:
- Organization: Houses are full of stuff, but we never seem to remember where something is when we need it. Taking time to link important or useful tools, manuals, appliances, belongings, souvenirs, or rarely used goods to the Areas where they're stored can save you hours of searching in the future.
- Paints: As soon as a painting project is done, you'll almost immediately forget which paint you used. Link paints to their rooms to avoid touch-ups that use the wrong color, or make sure you buy the right color when you embark on your next re-design.
- Insurance: In the event of an emergency, having a list of important items ready-to-go will make the process of replacement and reimbursement signficantly easier.
- Stocked Supplies: Even tracking basic supplies like lightbulbs, water filters, batteries, and cleaning supplies can be a huge convenience when you're out shopping and realize its time for an item to be replaced.
- Resale: Most of us probably have more stuff than we need. Inventory tracking can give you a sense of the value of your belongings, and let you know when it might be beneficial to sell or donate. Who couldn't use a little more space and a little more cash...
How to Link Inventory ⇄ Areas
To link an Inventory item to an Area:
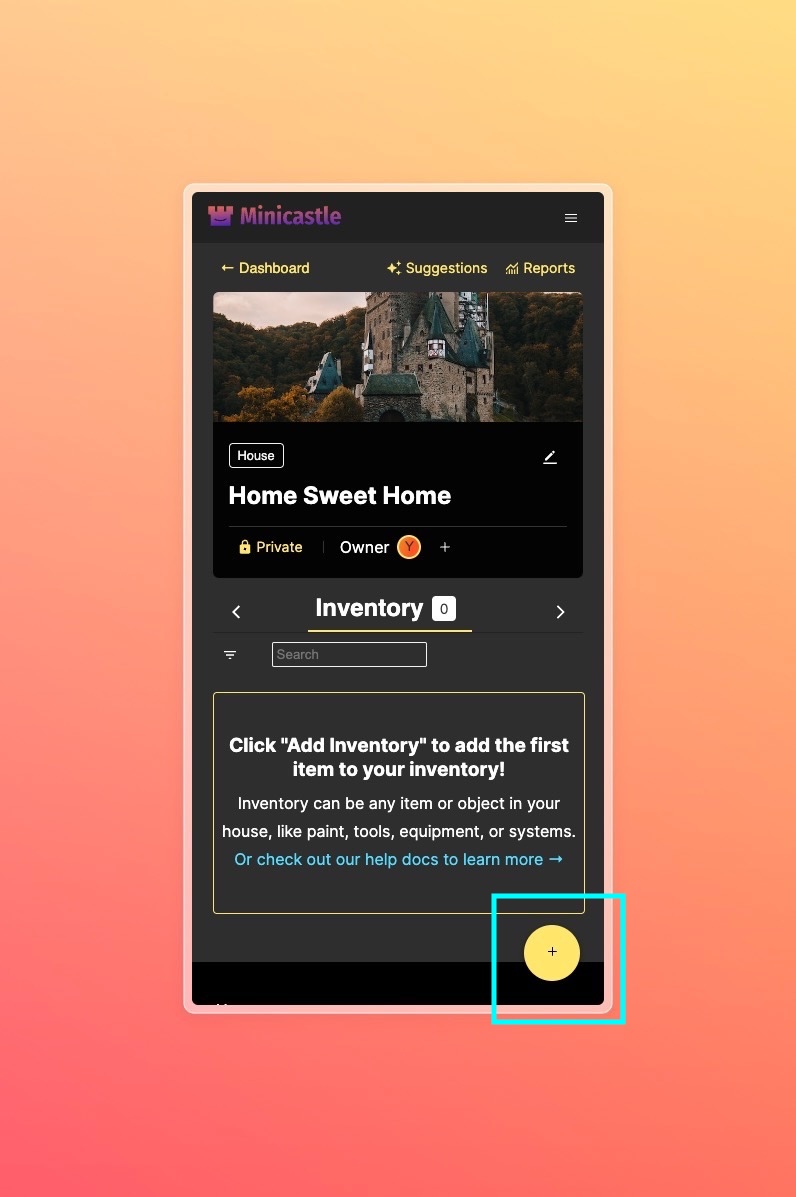
- Create the Inventory item by navigating to the "Inventory" section, then click "Create Inventory".
- Mobile
- Desktop
Look for a big round button in the bottom-right corner:

Click on the "Inventory" tab.

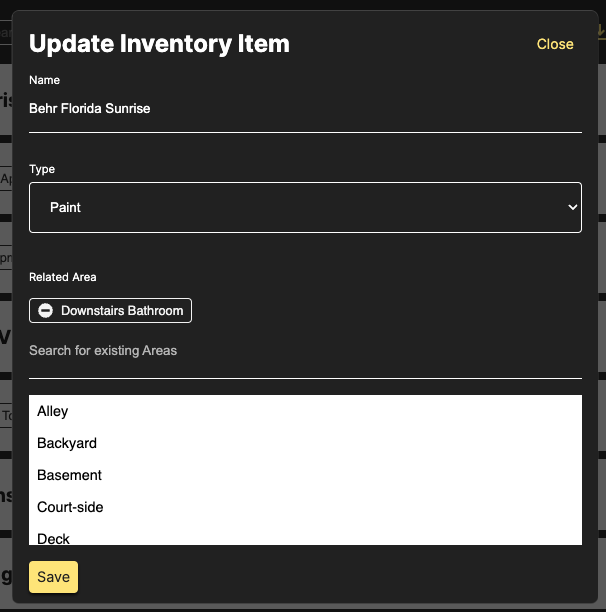
- Once you've created the Inventory item, press "Edit", then select a new or existing Area from the "Related Areas" list.
